HomeOnline DocumentBackup
Online Documents
- FAQ
- Payment Methods
- Payment Terms & Conditions
- Terms of Use
- Privacy Policy
- Cookie Policy
- Copyright Statement
- Account & Audit's Terms and Conditions
Company Incorporation FAQ
- Hong Kong Company Incorporation FAQ
- Hong Kong Limited Company Maintenance FAQ
- Company Secretary FAQ
- Accounting, Auditing and Taxation FAQ
- Banking FAQ
Accounting and Taxation
- About taxation
- About individual tax return
- About Accounting & Auditing
- Tax obligation as an employer
- Regarding Share Transfer
- About Company Deregistration
Corporate Email
- Email Account Management
- Email Forwarder
- Use Outlook (IMAP)
- Use Outlook (IMAP) - Manual Setup
- Use Outlook (POP) Not recommended
- Using iPhone
- Use Android
- Corporate Email FAQ
Cloud Backup
Server Colocation
Others
-
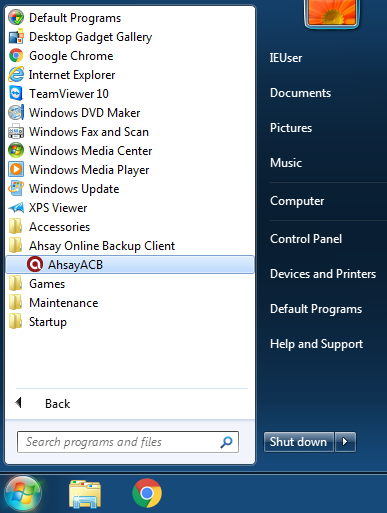
1. Login to AhsayACBStart your AhsayOBM/AhsayACB from the desktop icon or from the start menu
-
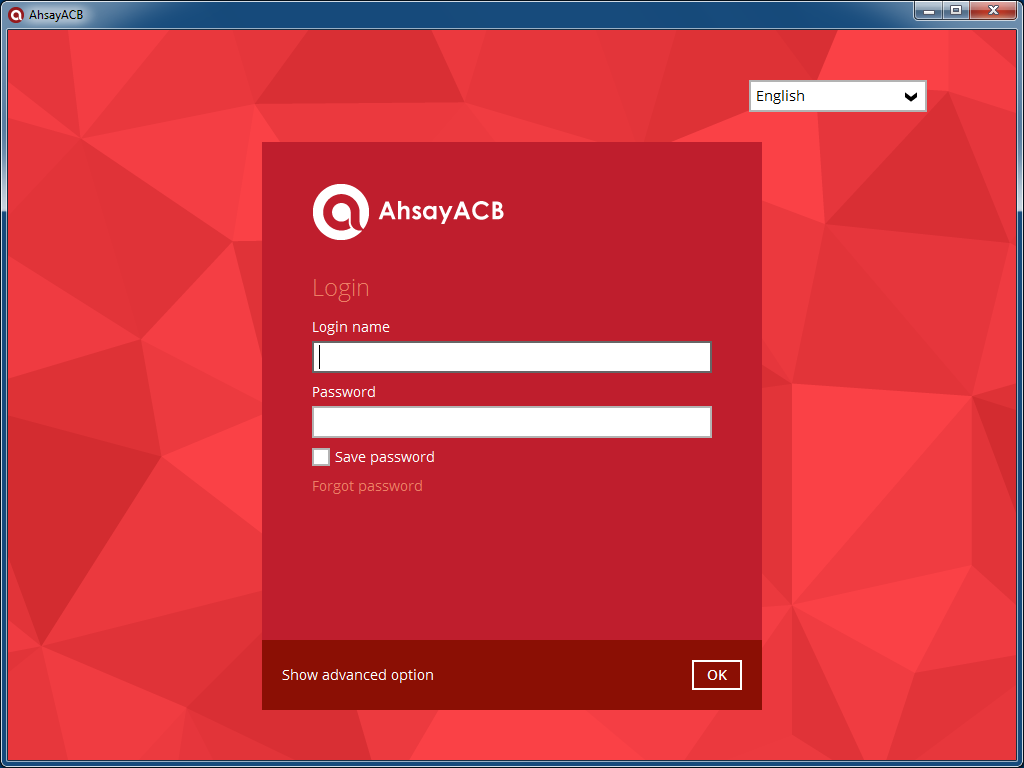
Click "Login" and input your login credential. If you don't want the application to prompt the password every time when you enter the application interface, check on the "Save password" check box.
-
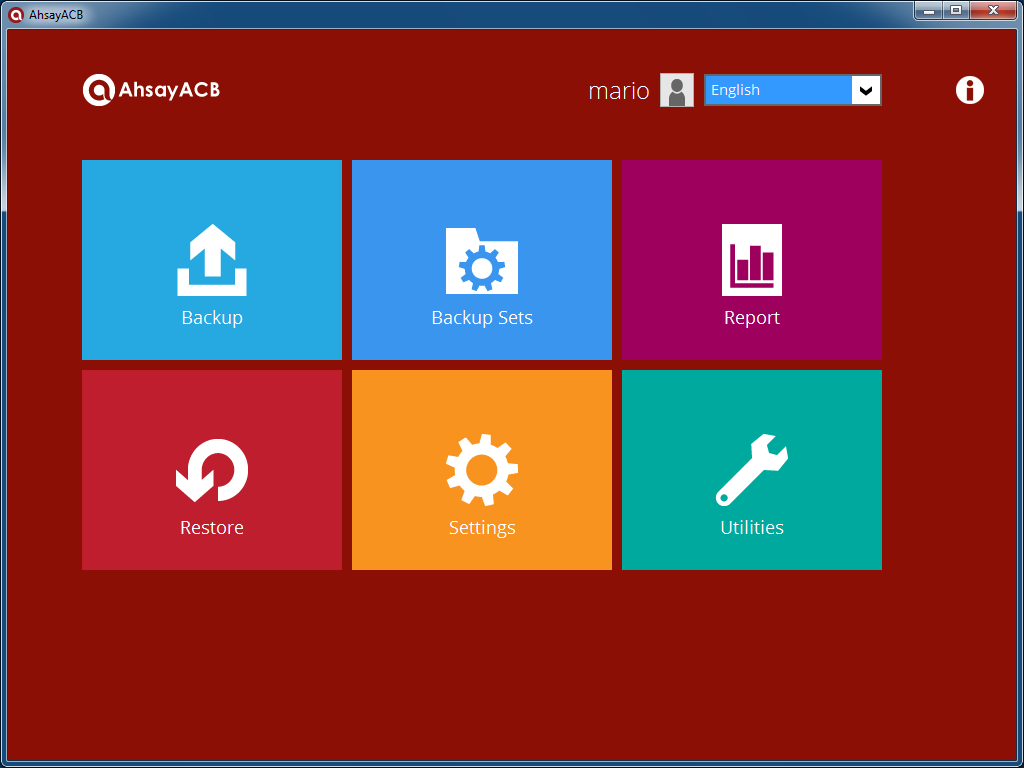
Login is successful and the program main interface is shown.
-
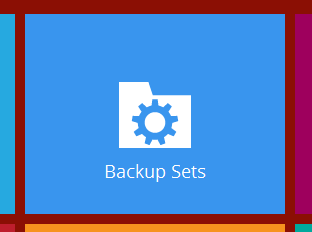
2. File BackupClick the [Backup Sets] button.
-
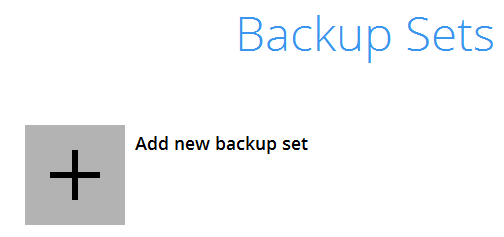
Click the [+] button to add a new backup set.
-
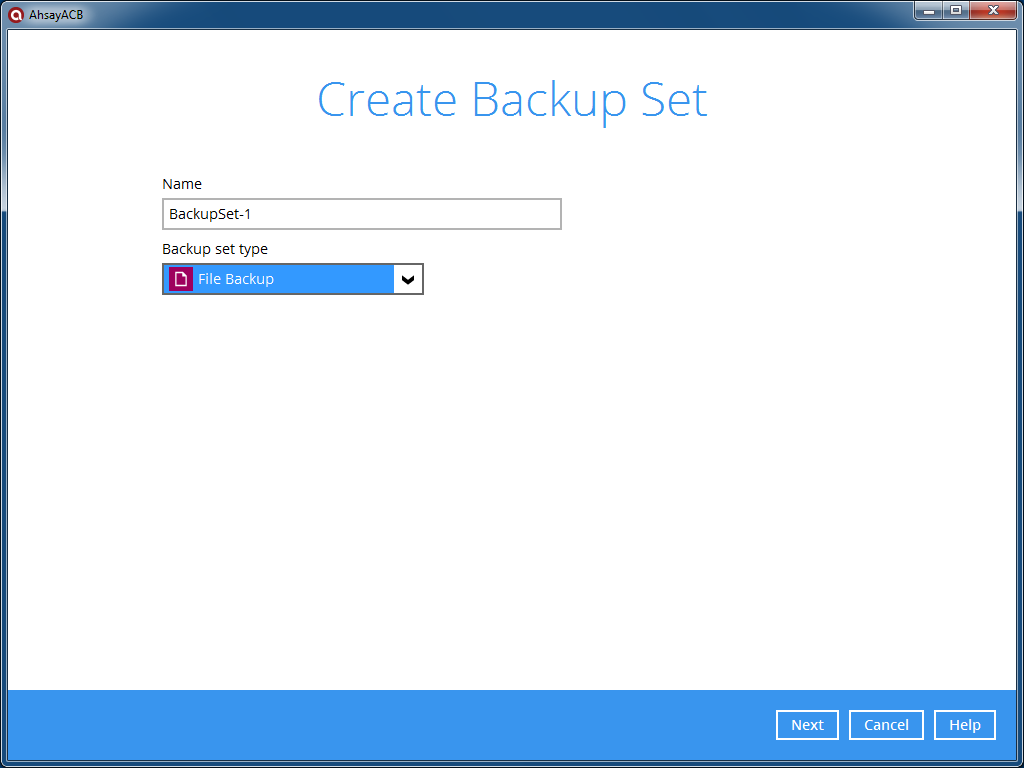
Enter a name for the backup set in the “Name” field, and select the “File Backup” from the drop down box and click [Next] to continue.
-
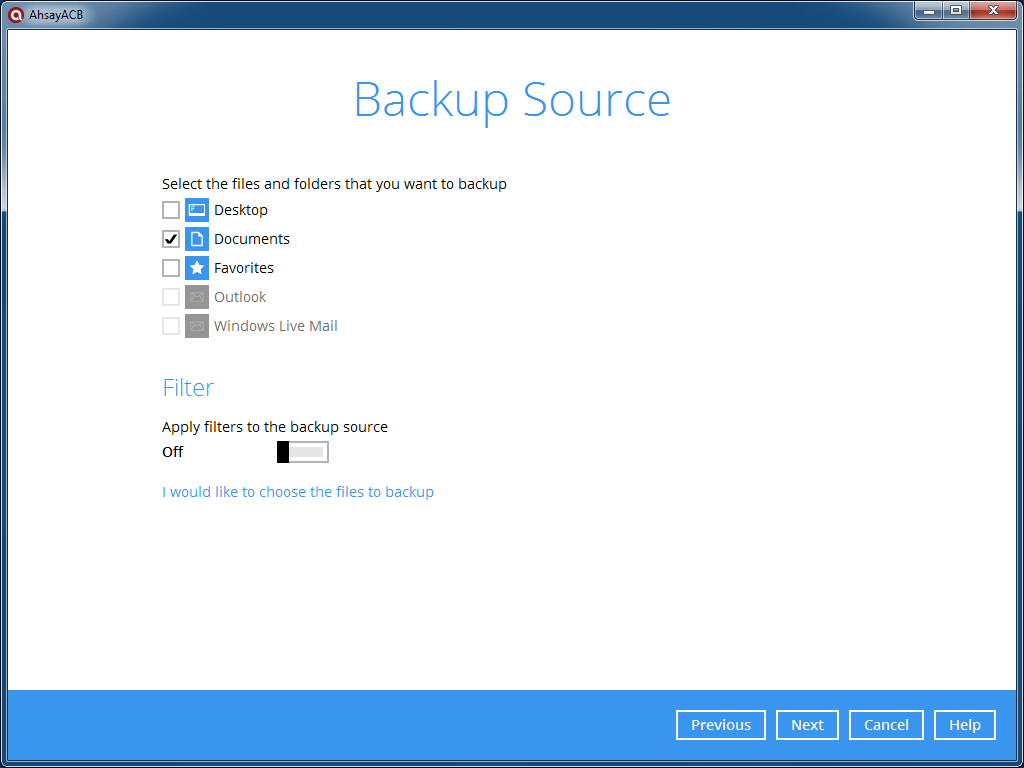
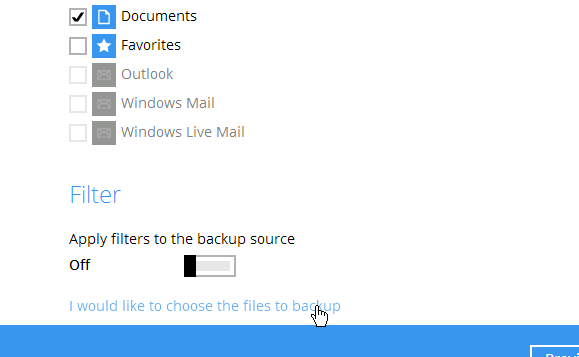
Click on the check box next to the default backup folder that you want to backup.
-
Optional: Click on the "I would like to choose the files to backup" if you want to select other drives or folders in your computer.
-
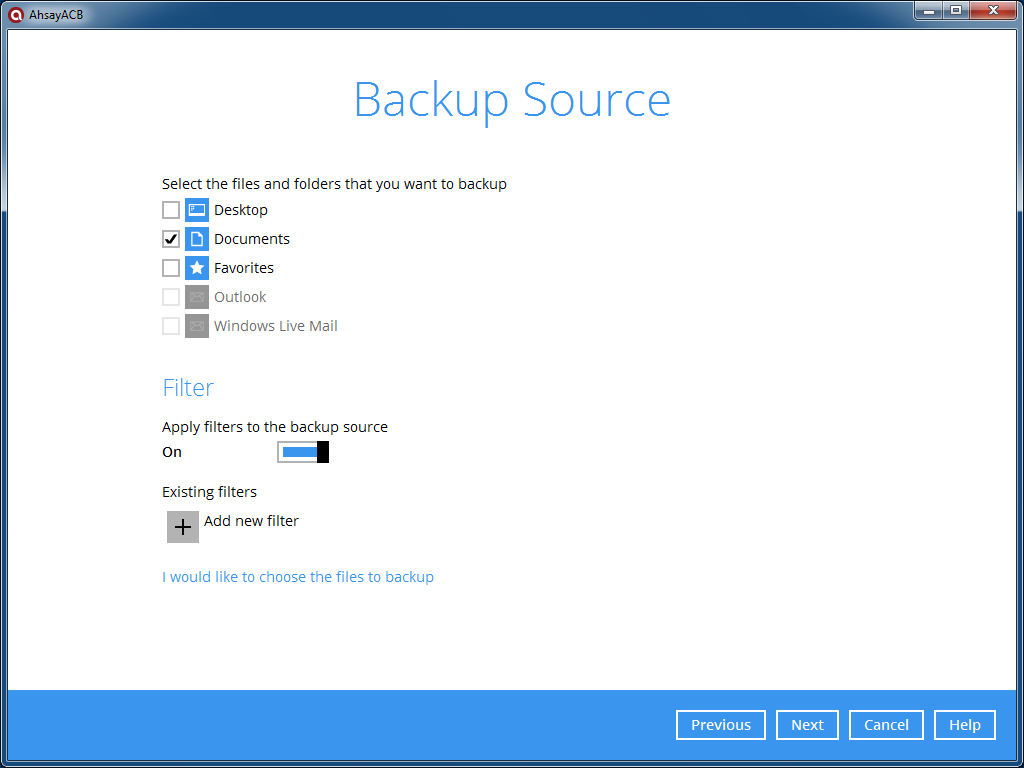
Optional: Slide the backup filter switch from left to right if you need to apply backup filter for your backup set.
-
Click [Next] to continue.
To enable a schedule backup of this backup set, slide the run backup schedule switch and add new schedule.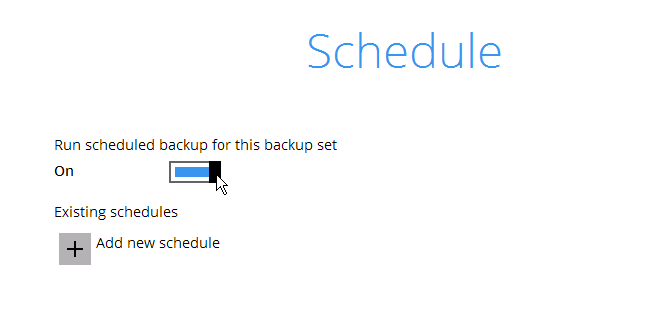
-
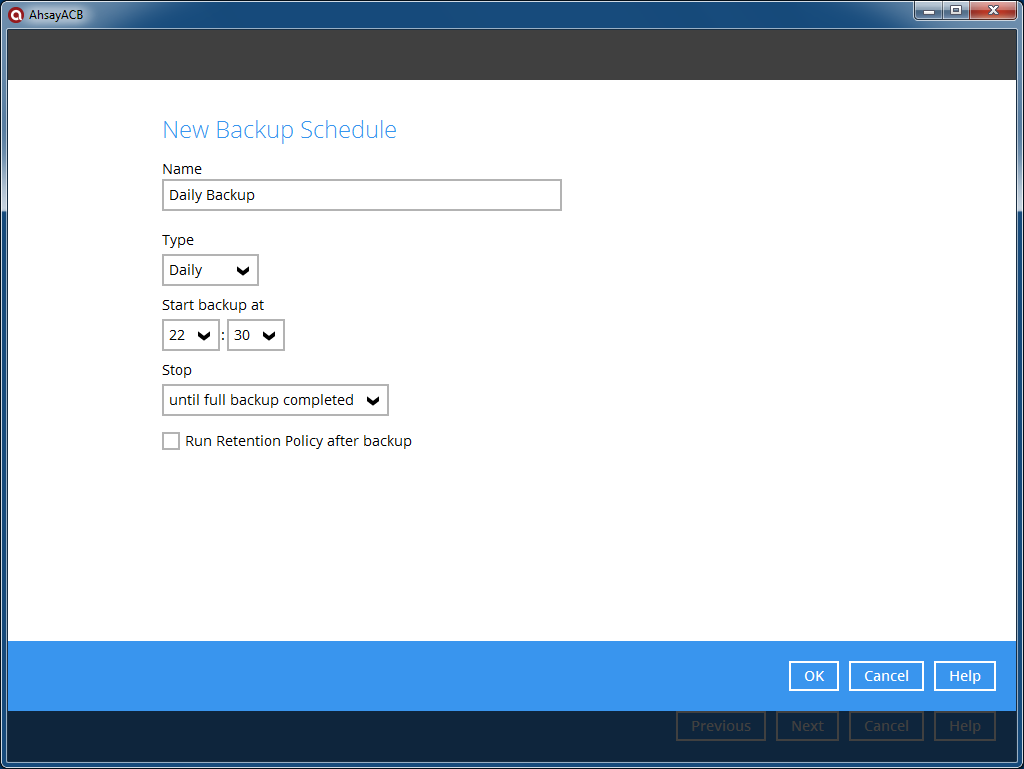
Enter the backup schedule details.
-
Optional: Check the box next to “Run Retention Policy after backup” if you need to remove retention data after the backup.
Leave the backup mode as "Sequential" and add a backup destination by clicking 'Add new storage destination'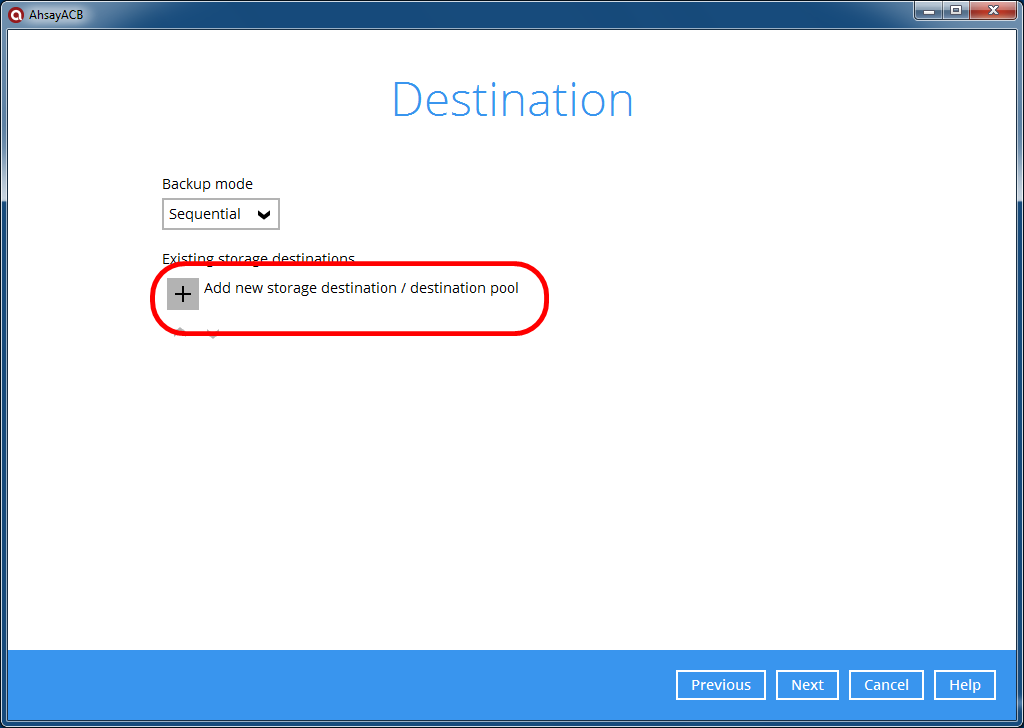
-
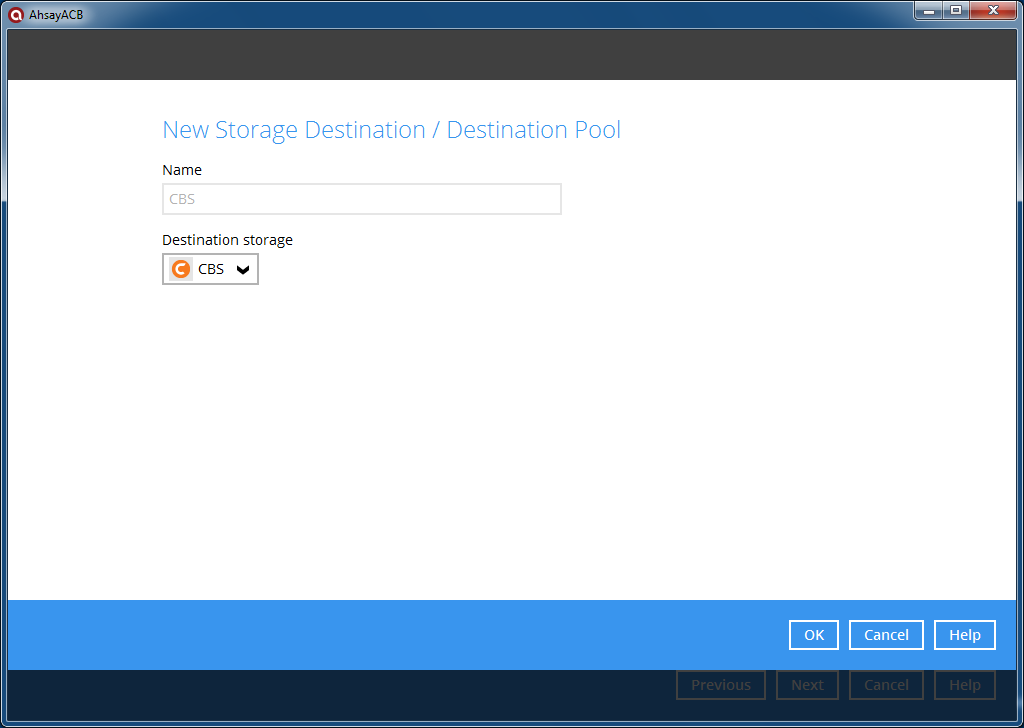
Leave the storage selection as ‘CBS’ and click [OK] to to continue
-
Click [Next] to continue

-
Input an encryption key for backup data encryption. Click [Next] to continue.
(Remark: If you don't change the encryption key, the default key is 'pcbackup')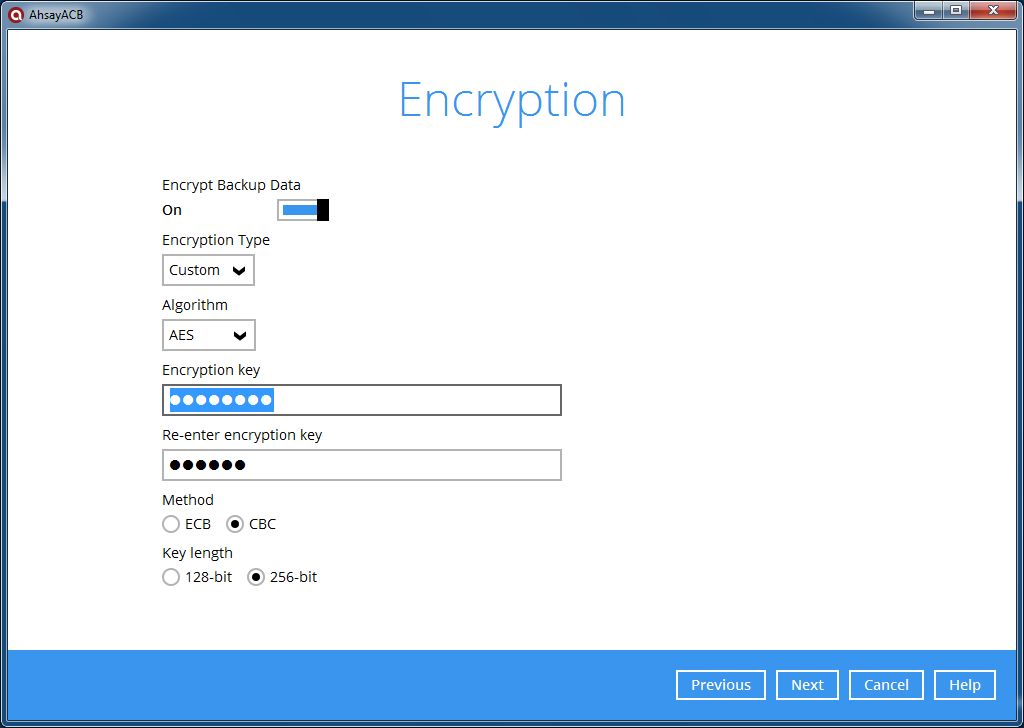
-
Important
Encryption settings are set at the backup set’s creation time, even if the password is changed afterwards, the encryption key remains the same and cannot be modified afterwards. Please make sure you have written down the encryption key and keep it in a safe place. If the backup computer is crashed, you will not be able to restore the encryption key, and the data that you backup is irretrievable with the original encryption key
You will asked to provide the password for this Windows account so that the software can access to the files that you selected.
(Remark: You must have a password-protected Windows login for the software to run. If you have not set a Windows login password yet, please set it up before creating a backup task)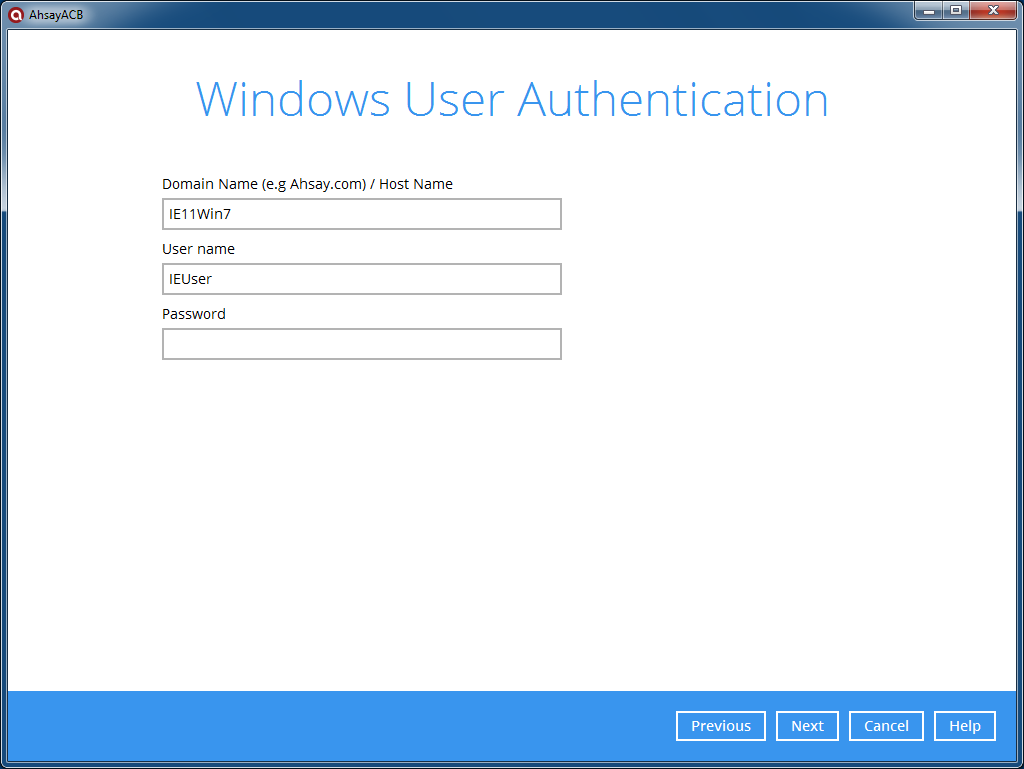
-
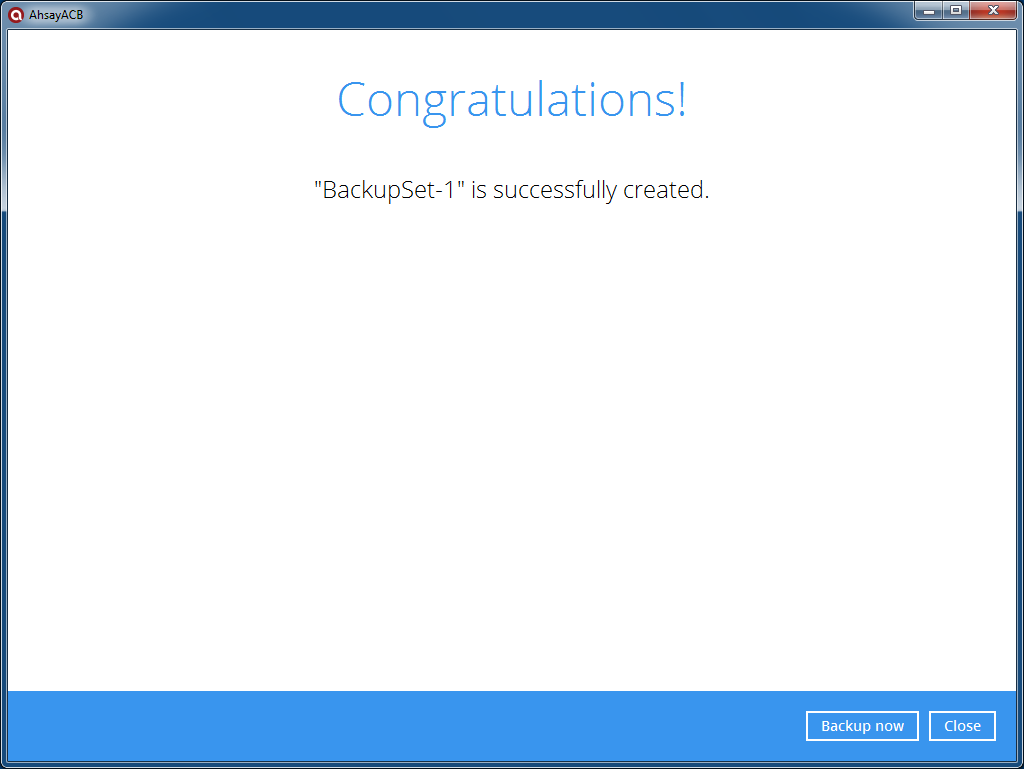
Click [Backup Now] to start the backup.
-
3. Windows System BackupClick the [Backup Sets] button.
-
Click the [+] button to add a new backup set.
-
Enter a name for the backup set in the "Name" field, and select the "MS Windows System Backup" from the drop down box, choose the disk to store the system backup file and click [Next] to continue.
Important
If you want to perform system backup on C: then you need to store the backup file to another hard disk drive (e.g. D:) which should be larger than the C: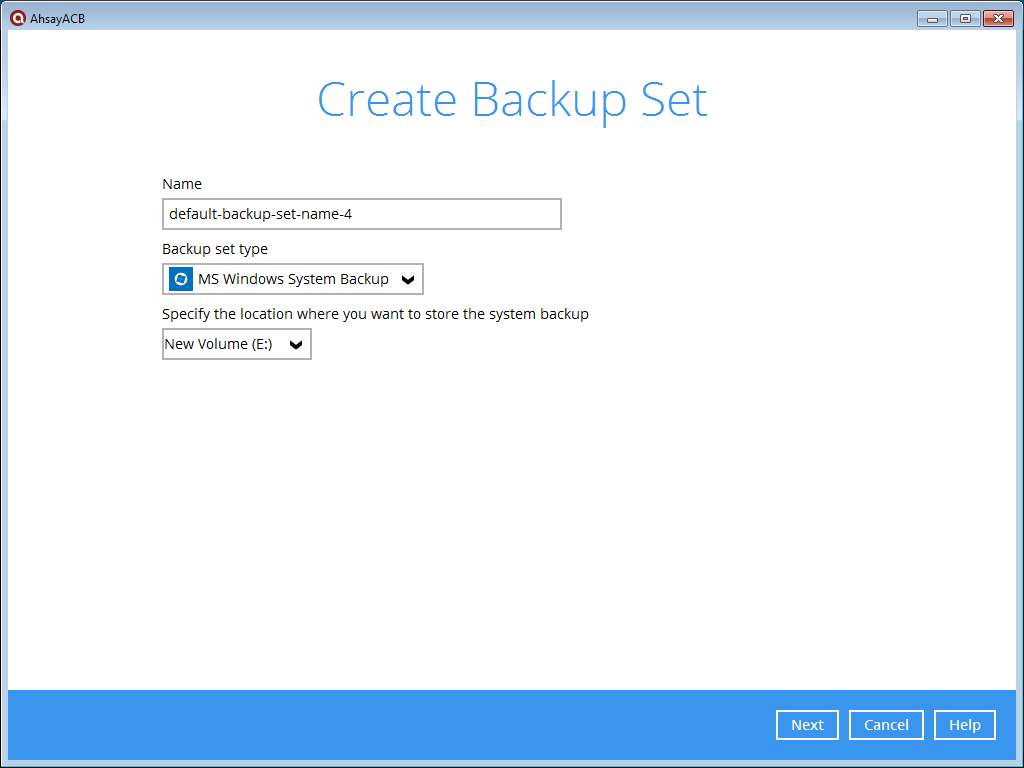
-
Choose backup source (e.g. C:) and click [Next] to continue

-
To enable a schedule backup of this backup set, slide the run schedule backup switch and add new schedule.
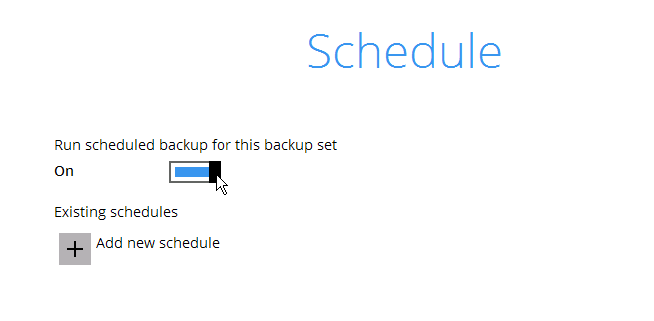
-
Enter the backup schedule details.
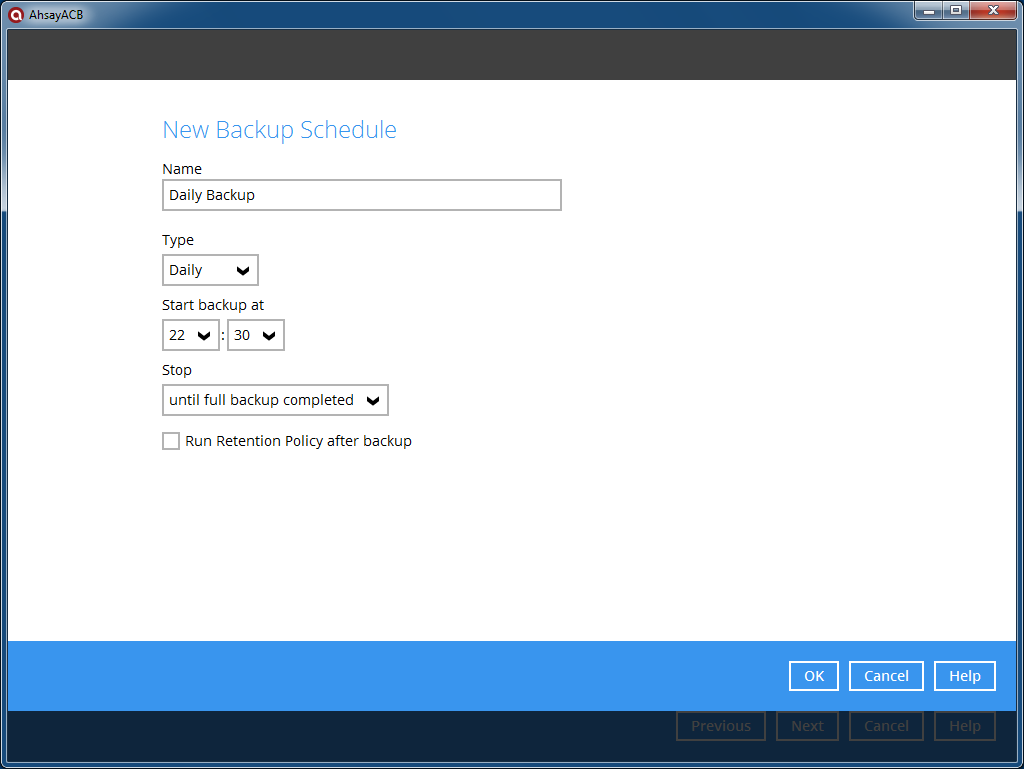
-
Optional: Check the box next to “Run Retention Policy after backup” if you need to remove retention data after the backup.
Optional: Check the box next to “Run Retention Policy after backup” if you need to remove retention data after the backup.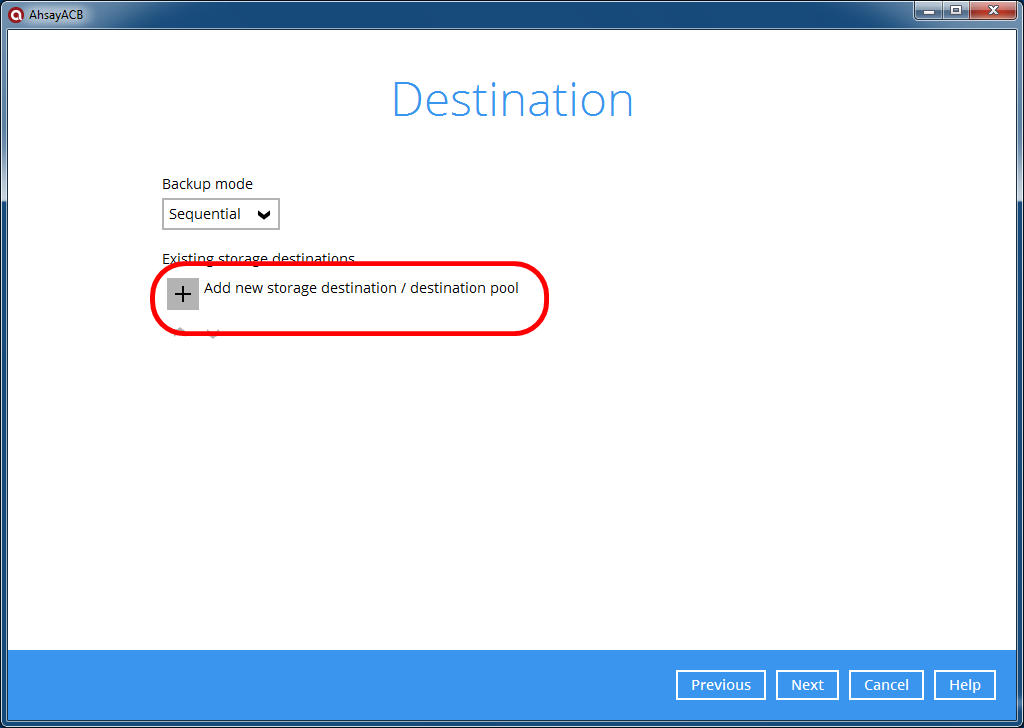
-
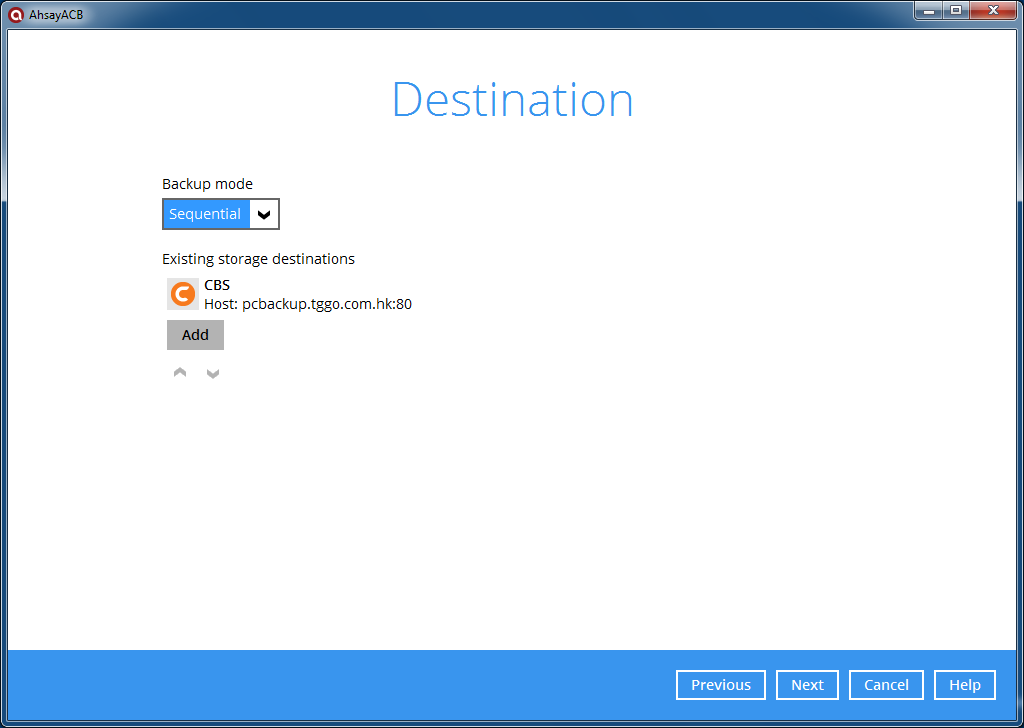
Leave the storage selection as ‘CBS’ and click [OK] to to continue
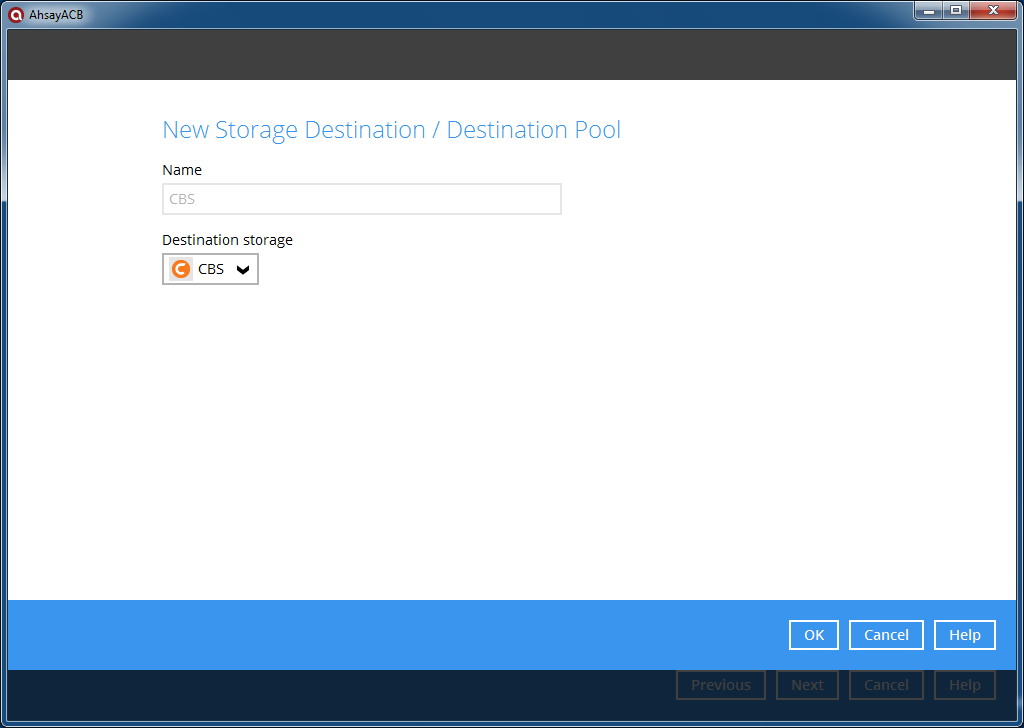
-
Click [Next] to continue
-
Input an encryption key for backup data encryption. Click [Next] to continue.
(Remark: If you don't change the encryption key, the default key is 'pcbackup')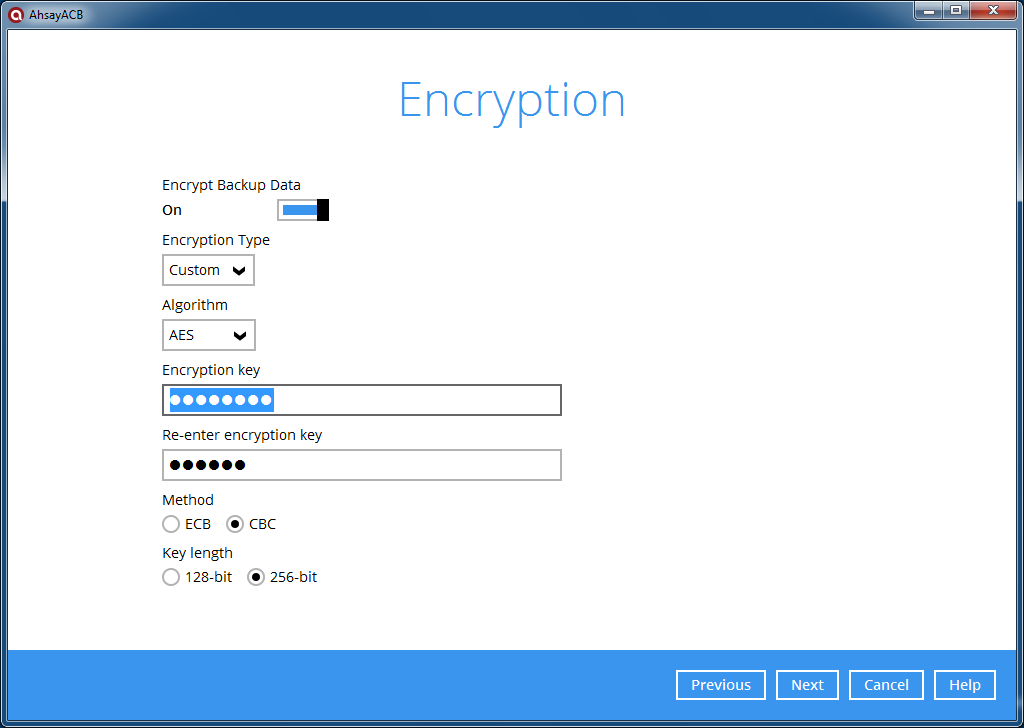
-
Important
Encryption settings are set at the backup set's creation time, even if the password is changed afterwards, the encryption key remains the same and cannot be modified afterwards. Please make sure you have written down the encryption key and keep it in a safe place. If the backup computer is crashed, you will not be able to restore the encryption key, and the data that you backup is irretrievable with the original encryption key
You will asked to provide the password for this Windows account so that the software can access to the files that you selected.
(Remark: You must have a password-protected Windows login for the software to run. If you have not set a Windows login password yet, please set it up before creating a backup task)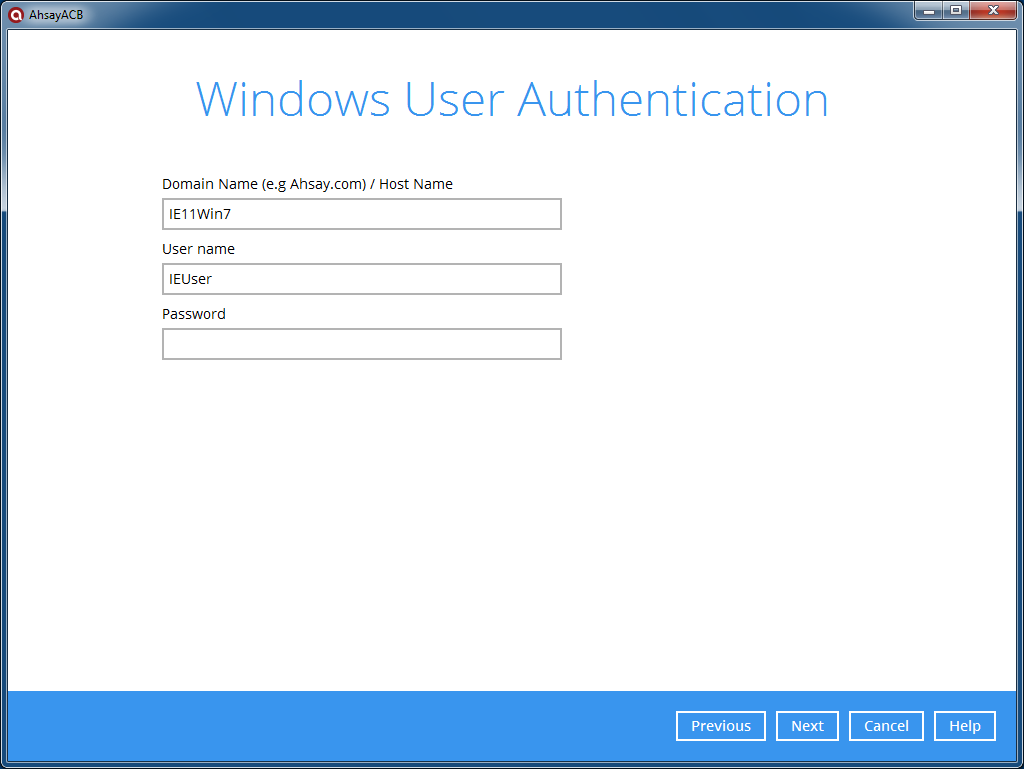
-
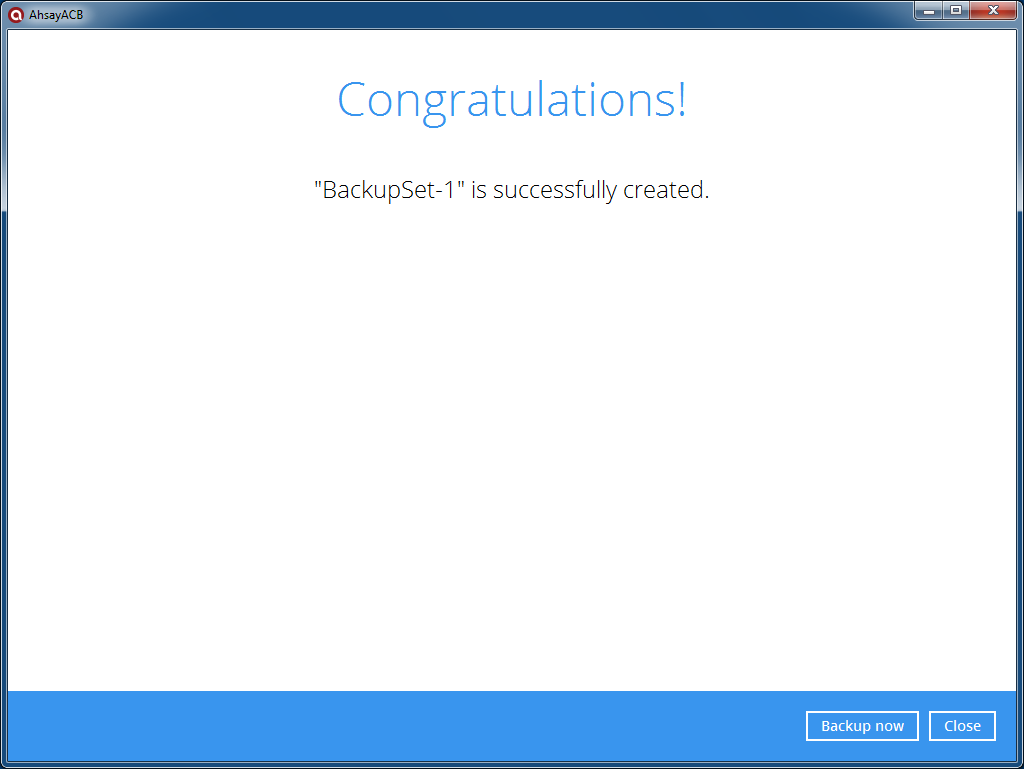
Click [Backup Now] to start the backup.
-
4. Retention policyRetention policy defines the policies of persistent data management for meeting business data archival requirements.
When a backup job is performed, for data that are modified or deleted on the client computer, their existing version on the backup server (backed up previously) would be moved into retention area, while newly backed up file would be placed in the current data area.
Specifically, retention policy setting defines how long are these data kept within the retention area before they are deleted permanently from the backup storage.
For backed up data that have not been updated or deleted from the client computer, they are kept in the data area on the backup storage and remain untouched.
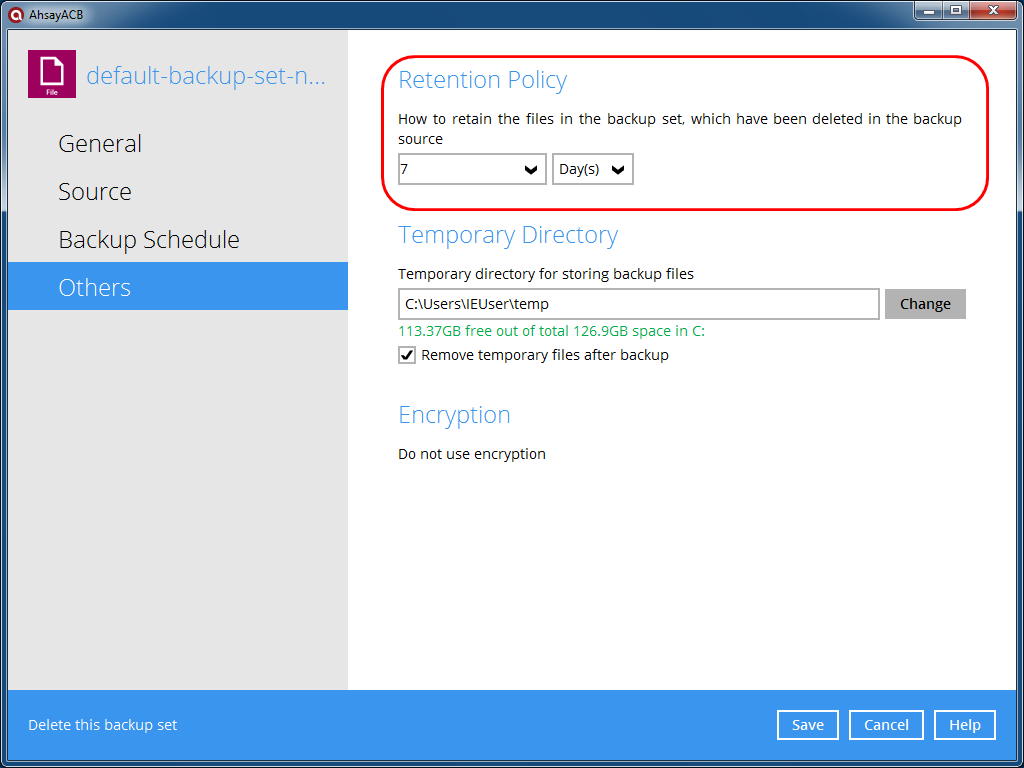
The retention policy can be defined where retained file (in the retention area) are removed automatically after a user specific number of days or backup jobs.
To define a retention policy, select a backup set from the main menu and choose the [Others] tab. Simply modify the drop down menu to your required days or jobs. Click on [Save] to save the settings.